Fetch Image and Upload to S3 Node
How to set simple image upload with Node and AWS S3
A pace-past-footstep guide explaining how to upload an image or any file to Amazon S3 service.
This is the first part of a tutorial in which we will handle the server (Node.js) part of the code.
I prepared a video tutorial on YouTube as well. Y'all tin can find a link in the resources at the bottom of this commodity.
1. What we demand to install & a brusque description.
multer: middleware for handling data files. Primarily used for uploading files. More info: Npm Link
multer-s3: multer extension for an easy file upload to Amazon S3 service. More than info: Npm Link
aws-sdk: necessary bundle to work with AWS(Amazon Web Services). In our case S3 service. More info: Npm Link
Get to your projects and allow'south install packages:
npm install —-relieve multer multer-s3 aws-sdk two. Signup for AWS
First, let'southward create an business relationship on https://aws.amazon.com. Amazon offers an amazing free tier y'all can use for the 1st year. Afterwards login, search for S3 service.
But said, S3 is a cloud service to shop files.

Nosotros need to create a Saucepan. You can imagine a bucket as a binder for your files. Choose a saucepan proper noun and the Region. Since this is a elementary setup nosotros are not interested in other configurations. (Default setup is ok — if something is not articulate enquire in comments). Click "side by side" until yous are on Review and create your bucket.
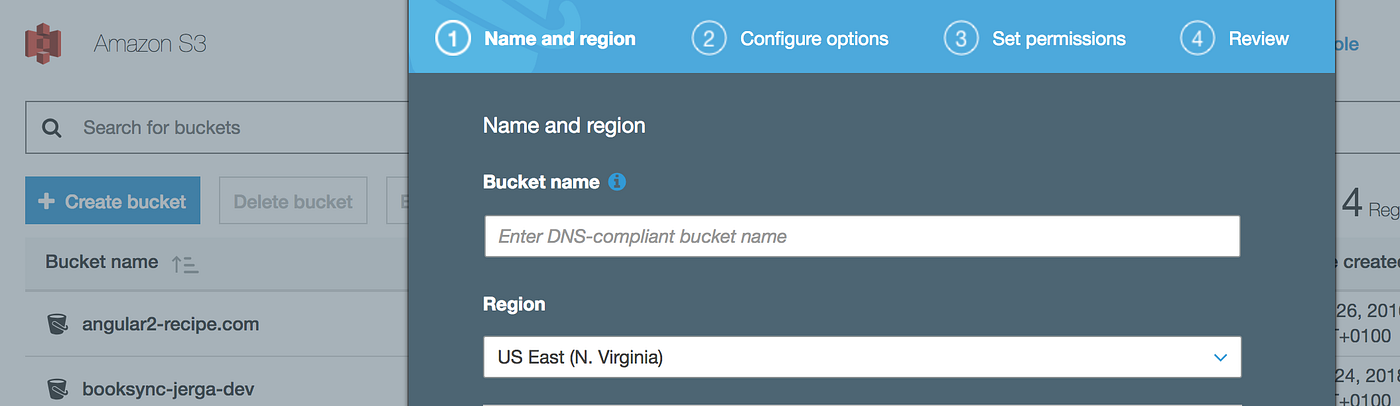
Navigate to your created bucket and check your URL bar. Remember your bucket name (for me "medium-test") and region (for me "us-east").

At present, we need to get our secure credentials. Navigate through your business relationship name to "my security credentials". Then "Admission Keys" and Create New Access Primal.

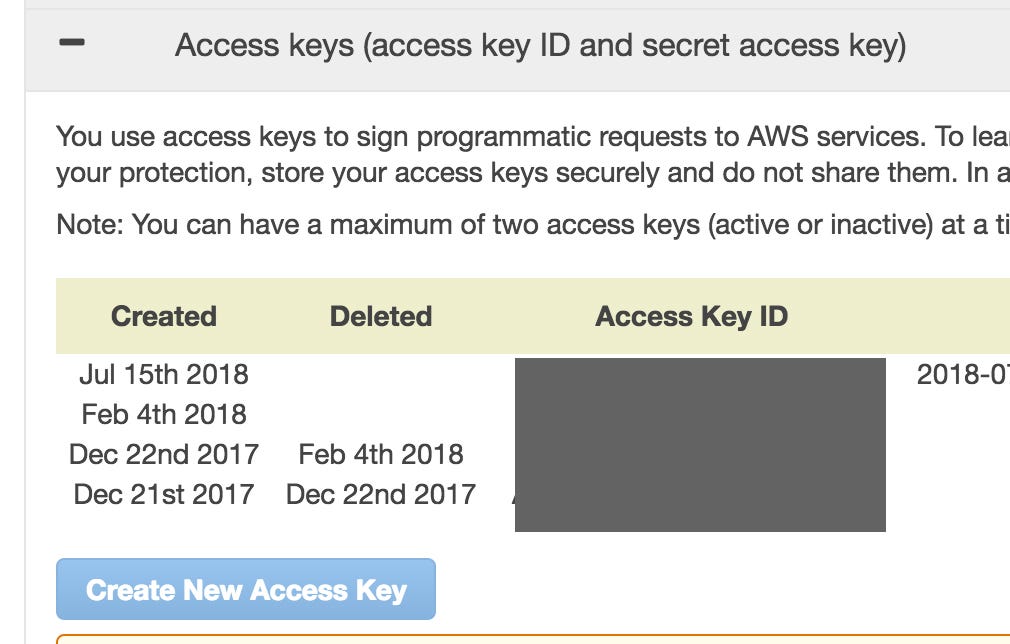
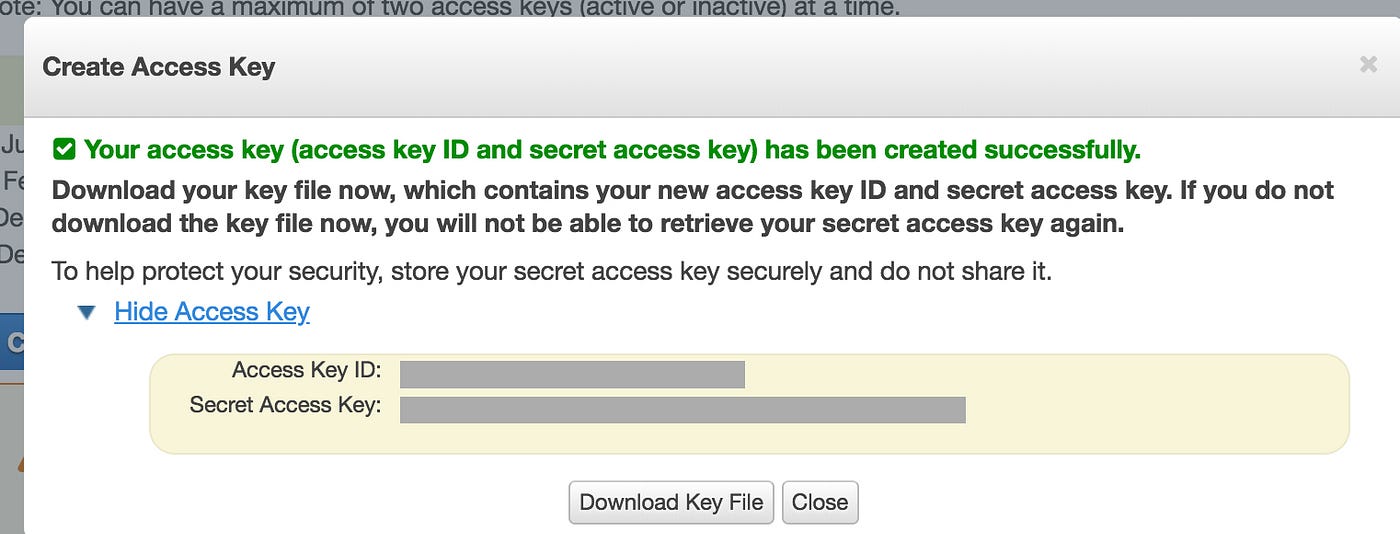
Never share your keys with anyone! Temporary save these keys to some file or download the Cardinal File, because we need keys in order to fix a file upload.
All right. Amazon Setup Done!
3. Go to Your Coding Editor
I will non explain the basics of Node or Express here. This tutorial is focused but on the file upload. If you are interested in the whole project implementation, check my GitHub repository or watch the full tutorial. (You lot can find links at the stop of this blog post).
- Create your file-upload service with the following implementation (showtime role):
Important note: Never betrayal your underground credentials directly into file! Never share your secret credentials! Consider to setup environment variables in your local surroundings or in example of deployed projects, variables in your deject provider. Best solution would exist to use aws-profiles: https://docs.aws.amazon.com/sdk-for-javascript/v2/developer-guide/loading-node-credentials-shared.html.
First, we are importing all our installed packages. The second role is to configure our AWS. Nosotros need to provide our hush-hush keys and region from the URL bar I showed y'all before.
Afterwards AWS configuration, we tin can create an case of our Amazon S3. Nosotros are still non quite done still. Now, let's see the second function of this implementation.
Now, we can gear up a solution for a multer upload. We demand to provide role to the multer object with the post-obit properties.
- s3: instance of Amazon S3 nosotros created earlier.
- bucket: name of our bucket (in my case: "medium-examination")
- acl: admission command for the file ('public read' ways that anyone can view files), you lot can bank check all the available types here: amazon link
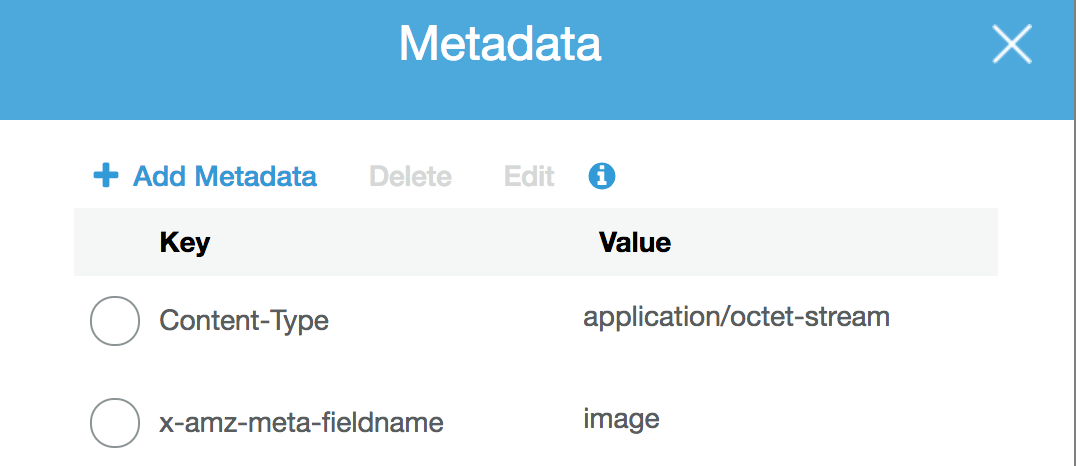
- metada: callback function to prepare metadata of uploaded files. Here, I am setting additional metadata for a fieldName. You lot can encounter this information on the image bellow.
5. key: callback office to set the cardinal property (under which key your file will be saved in your saucepan). In our case, we are making a timestamp of a current time and saving this file under this proper noun. This way our filename will e'er exist unique, but you can cull whatever name yous want.

After all the setup, we are exporting the upload object in social club to use it in other files.
four. Setup a route to upload image
We are well-nigh done, but users of our app still don't have access to the prototype upload. We need to expose this functionality to them. Let's create an endpoint to save a file.
We are exporting our upload object that nosotros've created before and creating a new 1 from it. The new one is more than specific with additional configuration for a unmarried paradigm upload. Nosotros are providing an 'prototype' value to it. This value is very important, because we volition send our file to a server under this key.
Second function is route itself. POST endpoint to '/image-upload'. Inside we telephone call singleUpload. Do not forget to laissez passer inside req and res, considering multer will become the file nosotros are sending to the server from the req object.
We are checking for an fault. If at that place is none, we are sending back JSON with the value of our file location, which is simply an URL to the file on Amazon.
Aaaaand that's it! We can upload files to Amazon S3 At present. Pretty elementary, what exercise you think?
5. Let's test information technology out in Postman.
To run across the results of our difficult piece of work, we need to send a request to the server with an paradigm we desire to upload. In this function nosotros will examination it via Postman. In the side by side part of the tutorial, we will create an implementation in an Angular awarding.
If you don't take Postman, you can but download it as a Google Chrome extension. Just search for 'postman google chrome extension'. Postman is an application to initialise, send, and test requests to the server in a unproblematic matter.
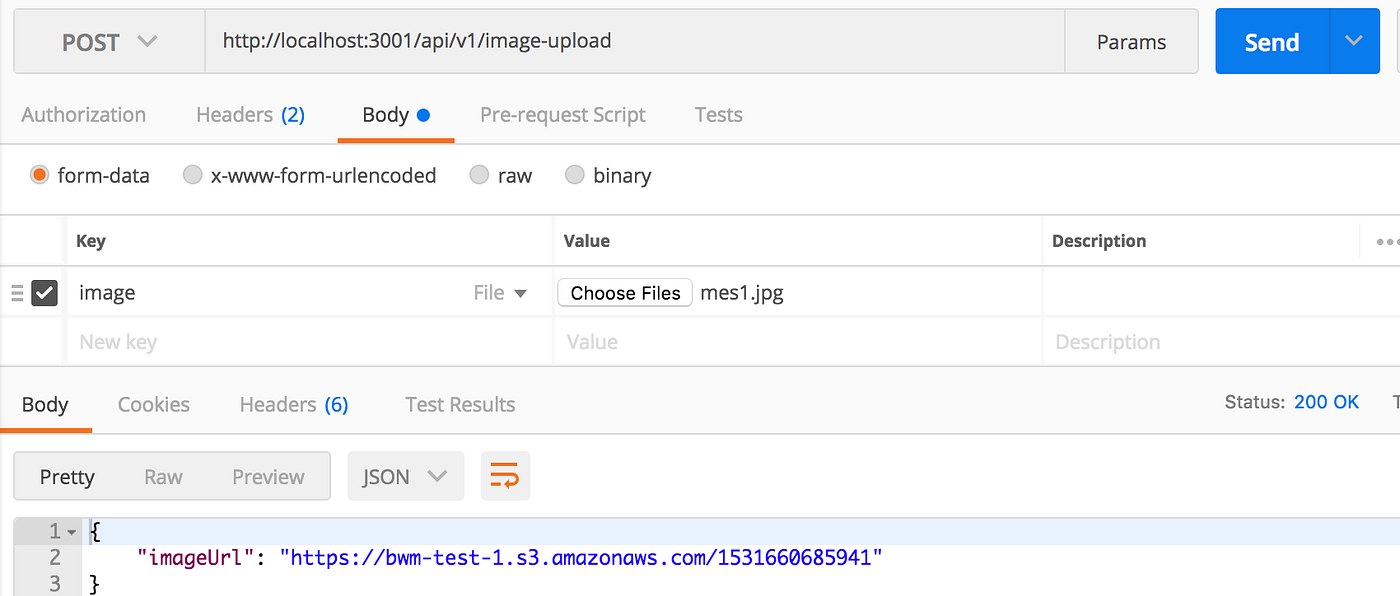
- Send a mail service request to an endpoint we created before. In my instance I specified in node path of /image-upload.
- Select Body of form-data.
- Provide the primal of an image. Yous'll notice that this is a key we prepare earlier in our lawmaking. Check a file and choose some file from your computer.
- Transport the request.
You should get dorsum JSON with the URL of your uploaded file.
Source: https://medium.com/free-code-camp/how-to-set-up-simple-image-upload-with-node-and-aws-s3-84e609248792